Table of Contents
Ready to transform your streetwear photos from snapshots to statement pieces? This guide is packed with streetwear outfit photography tips to help you capture the essence of your style. We'll cover everything from nailing the perfect lighting and composition to selecting killer backdrops and mastering post-production editing. Forget blurry pics and awkward angles – we’re diving deep into the secrets of professional-looking streetwear photography. Whether you're a seasoned photographer or just starting out, you’ll discover actionable techniques to dramatically improve your images and boost your online presence. Learn how to choose locations that complement your outfits, understand the power of styling to create impactful shots, and master editing techniques that add the perfect finishing touch. By the end, you'll be armed with the knowledge and confidence to create truly stunning streetwear photos that reflect your unique personality and style. Get ready to elevate your Instagram game and make your mark in the world of streetwear photography! So let's get started with some essential streetwear outfit photography tips.
Mastering the Basics: Lighting, Composition, and Angles
Mastering the Basics: Lighting, Composition, and Angles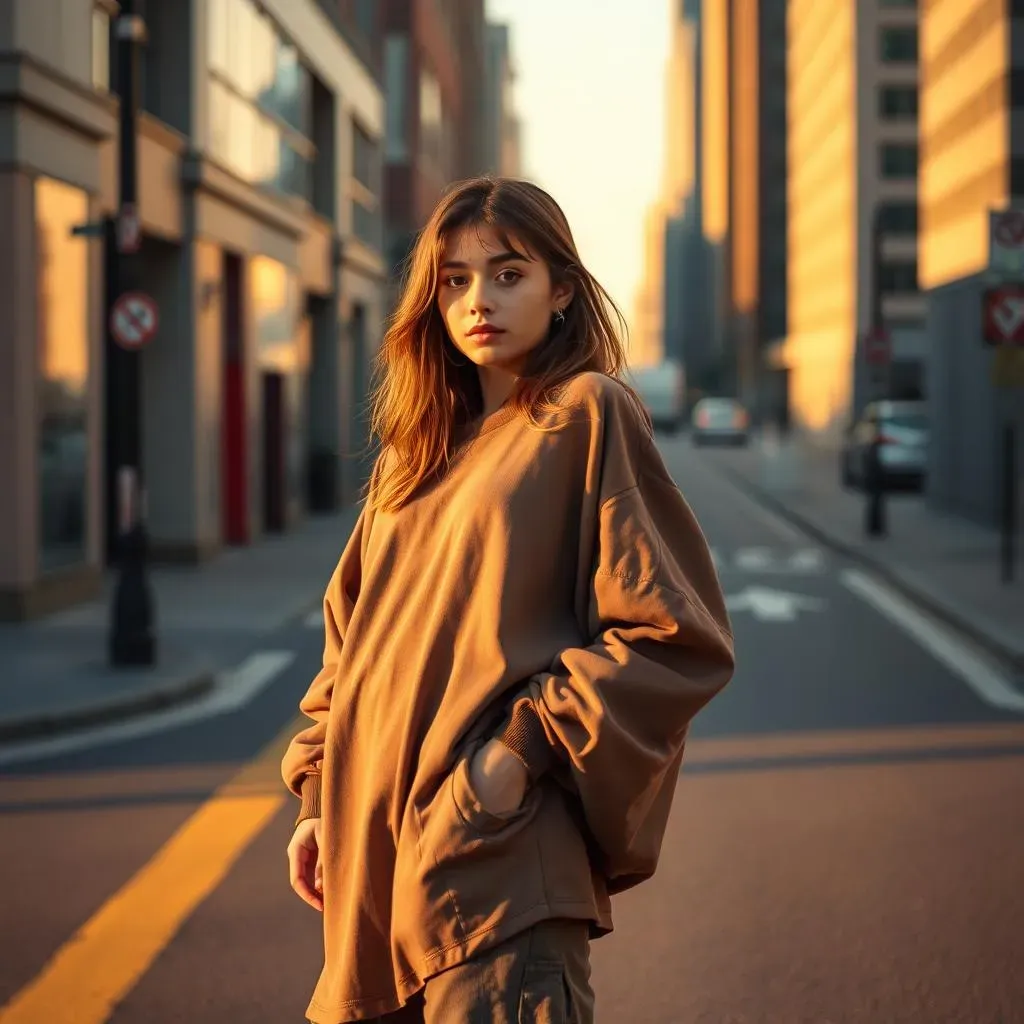
Lighting: The Foundation of a Great Shot
Let's talk lighting – it's the unsung hero of any killer streetwear photo. Think of it like this: your outfit is the star, but lighting is the makeup artist. Harsh midday sun can wash out colors and create harsh shadows, making your awesome threads look drab. Golden hour (that magical time just after sunrise or before sunset) is your best friend. The soft, warm light adds a dreamy, flattering glow to everything. But don't worry if you can't always shoot during golden hour; overcast days provide lovely diffused light, perfect for avoiding harsh shadows. Experiment with different times of day to see what works best for your style. And don't forget about using reflectors or diffusers to bounce light and soften shadows, especially on those bright sunny days. A simple white sheet can work wonders!
Remember, consistent lighting is key. Avoid mixing harsh sunlight with deep shadows; it can make your photos look messy. If you're shooting indoors, make use of natural light near windows or invest in some affordable lighting equipment. Check out this guide on color matching to learn more about how lighting affects colors in your photos.
Lighting Condition | Best Time | Pros | Cons |
|---|---|---|---|
Golden Hour | Sunrise/Sunset | Warm, soft light; flattering shadows | Limited time window |
Overcast Day | Any time | Diffused light; even exposure | Can be a bit dull |
Indoor Lighting | Anytime | Controllable | Requires equipment |
Composition and Angles: Telling a Visual Story
Now, let's talk composition – that's how you arrange the elements in your photo to create a visually appealing image. The rule of thirds is your go-to guideline. Imagine your photo divided into nine equal sections by two horizontal and two vertical lines. Placing your subject at the intersection of these lines creates a more dynamic and interesting composition than simply centering it. Also, consider leading lines – pathways, fences, or even the lines of your outfit – to draw the viewer's eye to your subject. Think of it like creating a visual path that guides the viewer's gaze through your photo.
Experiment with different angles! Shooting from above can make your subject look smaller and more vulnerable, while shooting from below can make them look powerful and imposing. A slightly low angle can also make legs look longer, a plus for showcasing those stylish kicks! Don't be afraid to get creative. Try different perspectives to find the most flattering and interesting angles for your outfit. Want to learn more about styling? Check out our tips on oversized streetwear for inspiration.
- Rule of Thirds: Place your subject off-center for a more dynamic composition.
- Leading Lines: Use lines to guide the viewer's eye.
- Vary Angles: Experiment with high, low, and eye-level shots.
Location, Location, Location: Choosing the Perfect Backdrop
Location, Location, Location: Choosing the Perfect Backdrop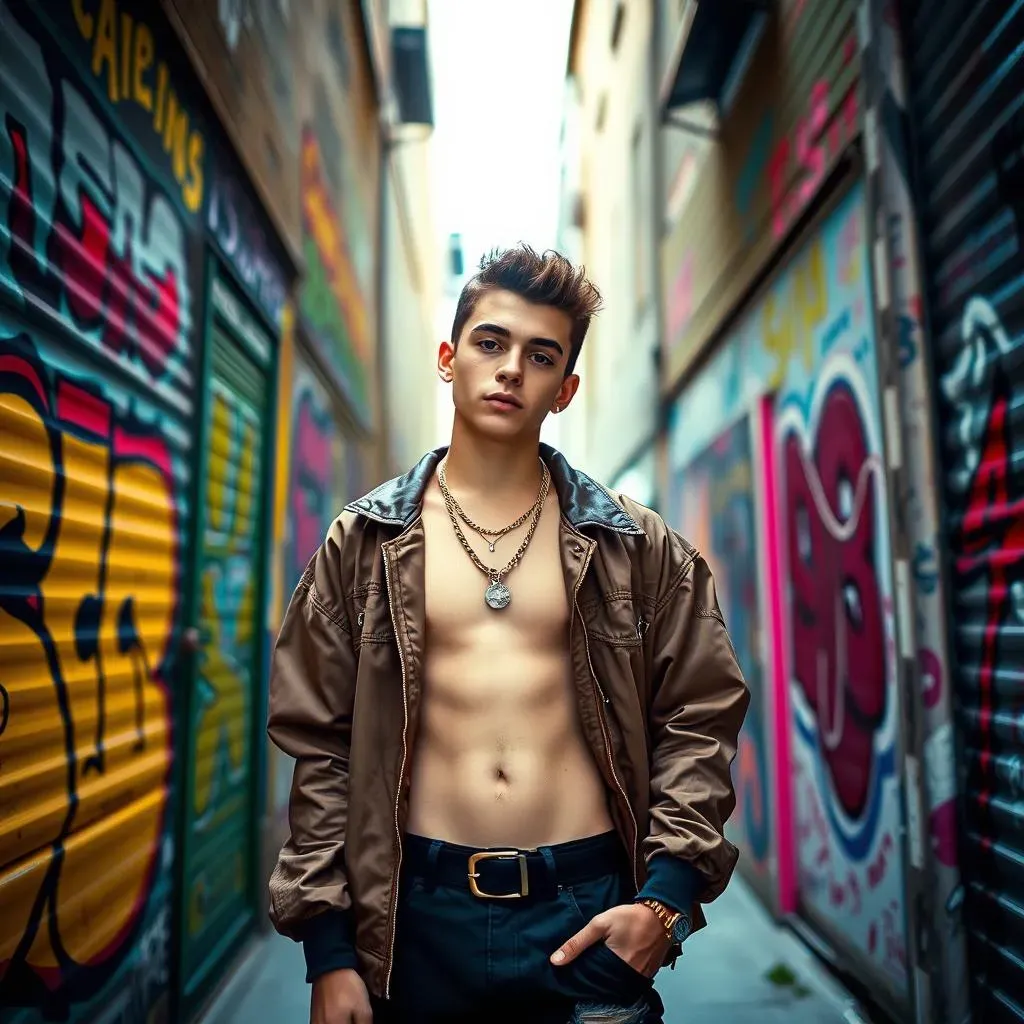
Urban Exploration: Finding Your City's Vibe
Picking the right backdrop is like choosing the perfect soundtrack for your outfit – it sets the mood and amplifies your style. Think about the vibe you want to convey. A gritty, urban alleyway can create a cool, edgy feel, while a brightly colored wall provides a bold, playful backdrop. Consider the architecture, textures, and overall atmosphere of the location. A clean, minimalist background lets your outfit shine, while a more textured environment adds visual interest. Experiment with different locations to discover what complements your style best. Don’t be afraid to explore less obvious spots – a hidden courtyard, a unique piece of street art, or even a quirky shop front can create a truly unforgettable setting. Remember, a well-chosen location adds another layer of storytelling to your photos.
Remember to check the lighting conditions before you head out. A brightly lit area will make your photos pop, while a dimly lit space might require extra lighting equipment. Consider the time of day and the angle of the sun. Golden hour is always a good option, but even overcast days can provide excellent diffused light. Want to learn more about finding the perfect colors for your photos? Check out our guide on streetwear color matching.
- Urban alleys: Edgy and cool
- Bright walls: Bold and playful
- Minimalist settings: Clean and modern
- Textured environments: Visually interesting
Beyond the City Streets: Exploring Diverse Backdrops
While city streets offer endless possibilities, don't limit yourself! Think outside the box. A lush park can provide a refreshing contrast to urban settings, adding a touch of nature to your streetwear look. A vintage building or a historical landmark creates a unique juxtaposition, adding a layer of depth and context to your photos. The possibilities are endless – a skate park, a trendy cafe, or even a museum can all serve as stunning backdrops, depending on the vibe you're going for. Consider how the location complements your outfit and the story you're trying to tell. The key is to find a location that enhances your style and helps you showcase your unique personality.
Remember, the background shouldn't overpower your outfit. It should complement it. If your outfit is bold and colorful, a simple background will help it stand out. If your outfit is more subdued, a more interesting background can add visual interest. Consider the overall aesthetic you want to achieve. Do you want something edgy, minimalist, or vibrant? Let your chosen location reflect your personal style and the message you want to convey. For more ideas on styling your outfits, check out our tips on minimalist streetwear.
Location Type | Vibe | Considerations |
|---|---|---|
Urban Alley | Edgy, Cool | Lighting, Safety |
Park | Relaxed, Natural | Weather, Crowds |
Landmark | Historical, Unique | Permits, Access |
Styling Secrets: Elevating Your Streetwear Photoshoots
Styling Secrets: Elevating Your Streetwear Photoshoots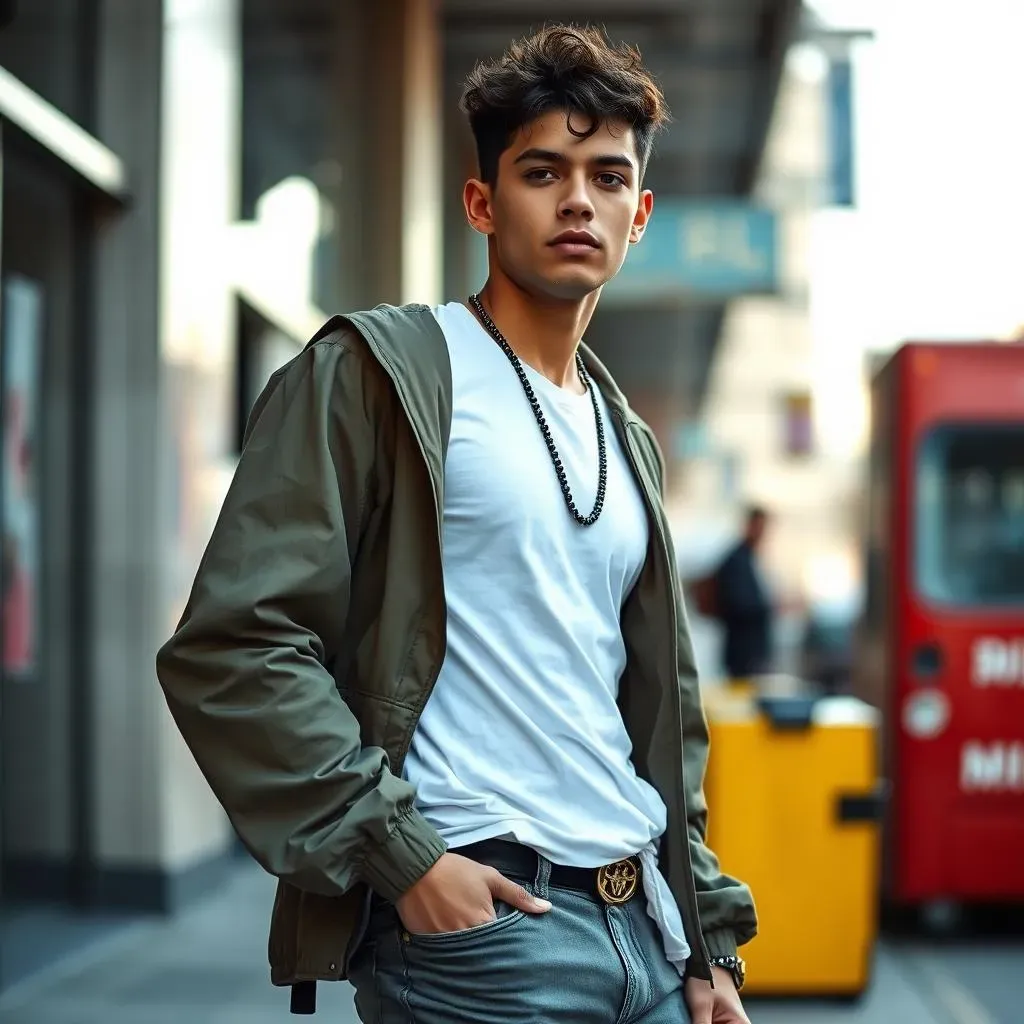
The Power of Posing and Expression
Let's talk posing – it's not about striking stiff, unnatural poses. It's about showcasing your personality and making the outfit look effortlessly cool. Think natural movement. A slight lean, a hand in your pocket, or a playful glance can add personality and energy to your photos. Don't be afraid to experiment with different poses, but remember to keep it authentic to your style. Avoid overly posed or forced expressions; let your confidence shine through naturally. Check out our guide on layering techniques to see how different poses can highlight your layered outfits.
Consider your overall look. Is it a relaxed vibe or a more sophisticated one? Your posing should match the aesthetic. If you’re rocking a relaxed fit, your pose should reflect that ease. If it's a more structured outfit, a sharper, more confident pose will complement it. The goal is to create a cohesive look that tells a story. Experiment with different expressions – a smirk, a smile, or even a serious gaze – to see what best conveys the mood you're aiming for. Want some more inspiration? Check out our winter outfit ideas for some styling ideas: winter streetwear outfits.
- Natural Movement: Avoid stiff poses.
- Authenticity: Let your personality shine.
- Cohesive Look: Match your pose to the outfit's vibe.
Editing and PostProduction: The Final Polish
Editing and PostProduction: The Final Polish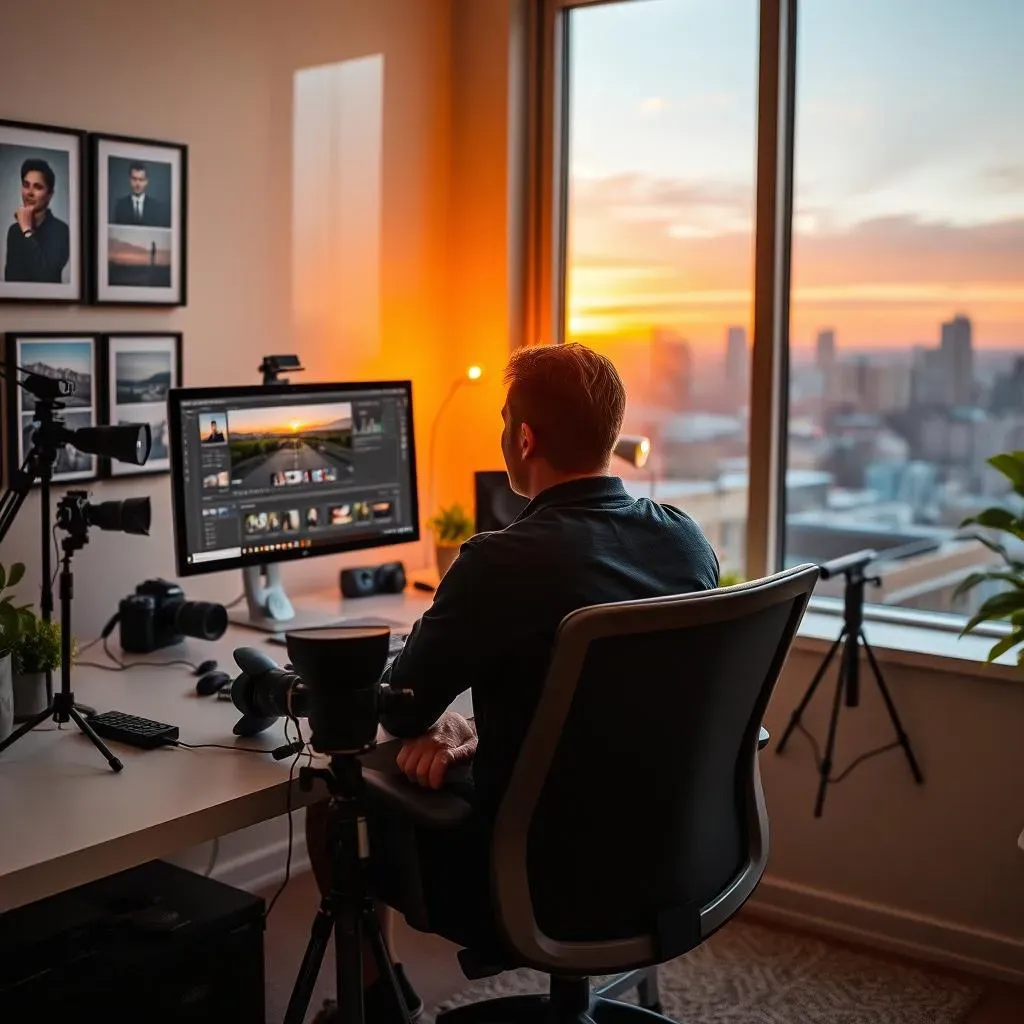
Basic Adjustments: Brightness, Contrast, and Saturation
Okay, so you've got your amazing shots. Now it's time for the magic of post-processing! First, let's tackle the basics: brightness, contrast, and saturation. Think of these as your photo's foundational makeup. Too dark? Bump up the brightness. Looking a bit flat? Increase the contrast to make those colors pop. Need a little more vibrancy? A touch of saturation can do wonders. Most editing software (even free ones!) have easy-to-use sliders for these adjustments. The key is subtlety – you want to enhance your image, not completely alter it. Start with small adjustments and gradually refine until you achieve the desired look.
Don't be afraid to experiment! See how different levels of brightness, contrast, and saturation affect your photos. Take notes on what works best for different lighting conditions and outfits. Remember, consistency is key – aim for a cohesive look across all your images. For more tips on choosing the right colors for your outfits, check out our guide on streetwear color coordination. Getting the basics right is the first step to creating a polished and professional look.
- Brightness: Adjust overall lightness
- Contrast: Enhance the difference between light and dark areas
- Saturation: Control the intensity of colors
Cropping and Straightening: Refining the Composition
Next up: cropping and straightening. Sometimes, even the best-composed shots need a little tweaking. Cropping allows you to remove distracting elements, focus attention on your subject, and improve the overall composition. Use the rule of thirds to guide your cropping, ensuring your subject is placed strategically. A slightly off-center composition often creates a more visually appealing image. Straightening your horizon line is crucial for creating a sense of balance and stability. A tilted horizon can make even the most stunning photo look amateurish. Most editing software has automatic straightening tools, but you can also manually adjust the perspective for a more precise result.
Remember, cropping can change the aspect ratio of your image. Think about the platform where you'll be sharing your photos. Instagram, for example, favors square or vertical images. Consider cropping your photos to suit the platform's requirements. Experiment with different crops to see how they affect the overall feel of your image. Sometimes a tighter crop can create a more intimate and impactful shot. For more styling inspiration, explore our collection of minimalist streetwear outfits.
Editing Tool | Function | Tip |
|---|---|---|
Crop | Remove distractions, improve composition | Use the rule of thirds |
Straighten | Correct tilted horizons | Check for vertical lines as well |
Advanced Techniques: Sharpening, Noise Reduction, and Filters
Now, let's move on to some more advanced techniques: sharpening, noise reduction, and filters. Sharpening adds definition and clarity to your image, making details pop. However, over-sharpening can lead to a grainy, unnatural look, so use it sparingly. Noise reduction helps to smooth out any graininess or artifacts that might have appeared in your photos, especially in low-light conditions. It's a great tool for cleaning up your images and achieving a polished finish. Finally, filters can add a unique aesthetic to your photos. Use them selectively to enhance your images, not to drastically alter them. Remember, less is more – a subtle filter can add a touch of flair without overpowering your photo.
Explore different editing apps and software to find the tools that best suit your style and workflow. Experiment with different sharpening, noise reduction, and filter options to see what works best for your images. Don’t be afraid to experiment and develop your own unique editing style. However, always strive for consistency across your images. For more ideas on how to style your outfits for photos, take a look at our suggestions for summer streetwear outfits. Remember, the goal is to enhance your images, not mask flaws.
“The best photos are often the ones that look effortless, but that’s usually the result of careful planning and meticulous editing.”